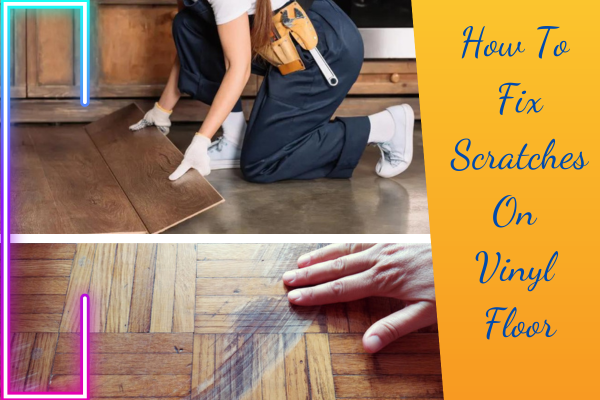
Vinyl floors are a popular choice for homeowners who want to give their room a sleek and modern look. Unfortunately, that also means they can easily become scratched or scuffed if not properly taken care of. However, there’re ways to Fix Scratches On Vinyl Floor and keep your floors looking like new! Read on to find out how you can fix those pesky vinyl floor scratches.
This article provides three detailed methods for removing scratches from vinyl floors in ascending order. With the help of some necessary tools and supplies, you can easily tackle this task yourself, especially if you like do-it-yourself projects.
What is Vinyl Flooring?
Vinyl flooring’s a type of resilient flooring that’s made up of multiple layers, including a waterproof core made of PVC. This material makes it extremely durable and able to withstand heavy foot traffic without any damage. It’s also easy to clean and maintain, making it an ideal choice for busy households or homes with pets.
There are actually three types of vinyl flooring:
Sheet Vinyl: Sheet vinyl’s a single, continuous sheet that can be installed in one piece or cut into smaller pieces for installation. It’s often used in large areas such as schools, hospitals, etc., and it’s water-resistant and easy to clean.
Vinyl Tile: Vinyl tile’s made of individual, smaller pieces that’re installed one at a time. It’s often used in smaller rooms or bathrooms and has the added benefit of being able to replace individual tiles if needed.
Vinyl Plank: Vinyl plank flooring’s similar to sheet vinyl but it’s composed of interlocking planks that can be easily installed. It offers the look of real wood but without the maintenance required for hardwood floors.
Learn more details: What Is Vinyl Floors? What Is Luxury Vinyl Flooring.
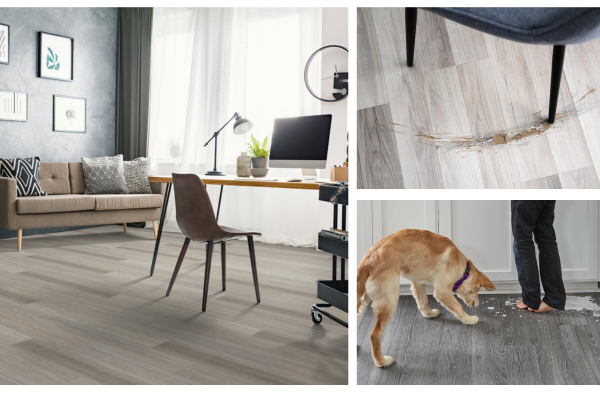
What Causes Vinyl Flooring to Scratch?
Vinyl flooring’s generally very durable and resistant to scratching, however, it can still be scratched if not properly taken care of. Common causes of scratches on vinyl flooring include:
- Abrasive Materials: Dirt, Sand, and grit brought in from outside can act as abrasives, causing scratches when walked upon.
- Furniture Movement: Dragging heavy furniture without protective pads underneath can leave scratches on the surface.
- Footwear: Shoes with hard or sharp soles can leave marks or scratches on the vinyl.
- Pet Claws: Pet nails can scratch vinyl, especially if they’re long or not trimmed.
- Sharp Objects: Sharp objects like knives, keys, or metal edges can easily create scratches.
- Cleaning Tools: Abrasive cleaning tools or brushes can damage the vinyl is wear layer.
- Sand and Debris: Sand or small stones can get trapped under footwear, causing scratches when walked on.
- Vacuuming: Vacuuming with a beater bar can cause scratches in vinyl flooring, so it’s important to vacuum carefully and use the right attachment for your vacuum cleaner.
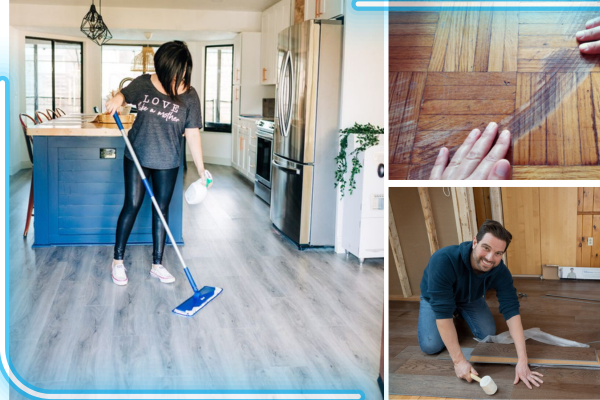
How to Remove Scratches from Vinyl Flooring (3 Methods)
There are three main methods to remove scratches on vinyl floors, according to the increasing degree of damage for you to choose according to the situation of your vinyl floor scratches.
Method 1: Using a Home Remedy
This method’s best if the scratch isn’t very deep and you don’t have the necessary tools to sand or buff it out. You’ll need white toothpaste, steel wool, and a soft cloth.
- First, dampen the scratch with a small amount of water.
- Then, rub some white toothpaste into the scratch using steel wool or a soft cloth.
- Gently buff the area in circular motions until the scratch’s no longer visible.
- Wipe away any excess toothpaste and water with a clean, dry cloth.
Method 2: Scratch Concealer
The big advantage of using WearMax Scratch Concealer’s that it can be applied to any color of vinyl flooring. You’ll need some WearMax Scratch Concealer and a soft cloth.
- First, clean the area around the scratch to clear any dirt or debris.
- Then, squeeze a small amount of WearMax Scratch Concealer onto the scratched surface and spread it evenly with a soft cloth.
- Allow the Scratch Concealer to dry completely before walking on it or replacing any furniture over it, at least for 4 hours.
- For deeper scratches, repeat steps 1-3 until the scratch’s no longer visible. [1]
Method 3: Paste Wax
Materials Needed
- Sponge or soft piece of cloth
- Bucket
- Warm water
- P320, P500, and P800 grit sandpaper
- Car wax
- Scraper
- Pry bar
- Hammer
- Mild detergent
Step 1: Clean The Affected Area
- Before beginning the repair process, it’s crucial to ensure that the affected area’s clean. This step is valuable as it allows for a comprehensive assessment of the damage, enabling a determination of the most effective approach for resolving the issue, whether it involves repairing the dent or replacing the damaged plank.
- To properly clean a scratch on a luxury vinyl floor, prepare a bucket of warm water and add approximately ¼ cup of mild detergent. Immerse a sponge into the solution, ensuring that excess moisture’s squeezed out, and proceed to thoroughly clean the affected area.
- Once the cleaning has been completed, it’s advisable to wipe the area with a dry cloth or allow it to air dry before proceeding to the next step.
Step 2: Smooth The Spot
Smoothing serves a crucial purpose – to eliminate rough edges and restore the flawless finish. Here is how you can achieve optimal results:
- Begin by using medium grit sandpaper (P320) and gently sand in the direction of the scratch. This’ll effectively remove most of the scrape, leaving you with finer edges.
- Transition to smoother grit sandpaper (P500) and rub the affected area in a circular motion. This technique’ll eliminate any lingering wax residue, preparing the plank for future waxing.
- Give the scratch a final sanding with P800 grit sandpaper. Employ a gentle circular motion until the spot becomes completely smooth and blends seamlessly with the plank. Ensure to touch the area to assess if further polishing’s necessary.
- Once satisfied with the outcome, thoroughly clean the spot. Dampen a sponge with a mild cleanser and water solution, removing any residual dust resulting from the sanding process. Allow the area to air dry before proceeding to the next step.
Step 3: Apply Wax
Waxing’s an effective method for smoothing and restoring the luster of luxury vinyl flooring. To maximize the benefits of your waxing procedure, it’s recommended to use high-quality wax, preferably car wax.
- First, pour a small amount of wax onto a clean cloth and gently apply it to the polished scratch. Use a circular motion to rub the wax until you achieve the desired shine.
- Next, inspect the floor for any wax spills and promptly clean them. Finally, wipe the entire floor with a clean rug to complete the process. If done correctly, the scratch should no longer be visible.
Step 4: Replace Deeply Scratched Planks
- When it comes to fixing scratches on your floor, there’re different approaches depending on the severity. For minor scratches, you can follow the above steps to rectify them easily. However, if the scratches’re deeper, you may need to consider either refinishing or replacing the damaged section.
- Refinishing’s a great option because you will not have to install an entirely new plank. Instead, you will apply a new finish to the tiles with significant dents. Although the process may be slightly more expensive, it is a much more affordable alternative to redoing the entire floor.
- To replace a luxury vinyl plank (LVP), start by removing the damaged tile. If it is stubborn, use a scraper, hammer, and pry bar to chip away at the adhesive. Once you have successfully removed the old tile, clear out any remaining adhesive and smooth the area by sanding it. Now, it is time to bring in a new plank. Apply adhesive on its back and carefully push it into the space where the old tile was, ensuring it interlocks with the existing tiles.
- To determine if a plank needs replacing, try steps 1 to 3 first. If the gouge’s still visible even after sanding and waxing, it is clear that a more complex fix’s required. Depending on your preference, you can either opt for refinishing or replacing. [2]
If you are wondering which Vacuum is best for vinyl floors? you can refer to this article: Best Vacuum For Vinyl Floors
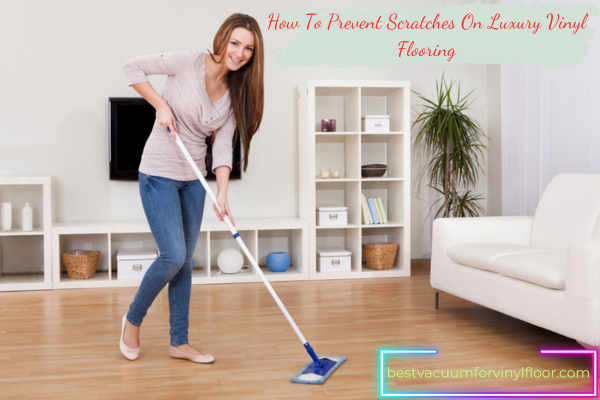
Extended Tips: How To Prevent Scratches On Luxury Vinyl Flooring
To maintain the integrity of your luxury vinyl flooring, it’s important to take preventive measures that help reduce wear and tear. Here’re some tips on how you can protect your luxury vinyl floors from scratches and dents:
- Use doormats at each entryway to trap dirt and debris before they enter your home. This’ll help prevent small particles from scratching your floor.
- Utilize non-abrasive cleaning products and materials to clean your luxury vinyl flooring. Abrasive cleansers, scouring pads, and coverings like steel wool should be avoided as they can cause scratches on the surface.
- Place furniture protectors such as felt pads or rubber stoppers underneath heavy furniture to avoid damage resulting from dragging and shifting furniture pieces.
- Regularly inspect your luxury vinyl flooring for any signs of damage or deep gouges. This’ll help you identify any issues before they become too big to handle.
- Place rugs in areas of your home with high foot traffic to minimize wear and tear. Not only do carpets protect floors from dirt, but they also absorb shock effectively.
- Repair scratches and dents immediately as soon as you discover them. The sooner you take action, the less likely it’s that you’ll need to replace an entire luxury vinyl plank.
FAQs about how to fix scratches on vinyl floor
Does vinyl flooring scratch easily?
Vinyl flooring’s generally more scratch-resistant than some other materials, but it isn’t completely scratch-proof. Quality, wear layer thickness, and maintenance impact its scratch resistance. Preventive measures like using mats, furniture pads, and gentle cleaning help maintain its appearance.
Does vinyl scratch more than laminate?
- In general, laminate flooring tends to be more scratch-resistant than vinyl flooring. Laminate’s constructed with a hard and durable wear layer that can withstand more wear and tear, including scratches, compared to vinyl. Laminate’s wear layer’s often made of aluminum oxide, which’s a highly durable material.
- Vinyl flooring, while still quite resistant to scratches, typically has a softer wear layer compared to laminate. However, advancements in vinyl manufacturing’ve led to the development of scratch-resistant coatings that enhance its durability.
- Both vinyl and laminate flooring offer various benefits, and scratch resistance’s just one factor to consider. The choice between the two would depend on your specific preferences, budget, and the level of traffic in the area where the flooring’ll be installed.
Can water damage vinyl?
Yes, water can damage vinyl flooring by causing warping, adhesive issues, mold, mildew, and discoloration. Promptly clean up spills, use mats, control humidity, and follow manufacturer is guidelines to prevent water damage.
Is vinyl easy to damage?
- Vinyl flooring’s relatively durable and resistant to many types of wear and tear. It is designed to withstand daily use and is less prone to damage compared to some other flooring materials like hardwood. However, while vinyl is durable, it isn’t completely immune to damage. Factors such as the quality of the vinyl, the thickness of the wear layer, and the type of use can influence its susceptibility to damage.
- Vinyl can be scratched or dented by sharp or heavy objects, and excessive moisture or water exposure can lead to issues like warping, adhesive failure, or mold growth. While it’s not as easy to damage as some other materials, it’s important to practice proper maintenance and avoid actions that could potentially harm the flooring.
- Using preventive measures such as using mats, furniture pads, and following manufacturer’s guidelines for cleaning and maintenance can help extend the life of your vinyl flooring and keep it looking its best.
Epilogue How To Fix Scratches On Vinyl Floor
As you can see, the repair of scratches on luxury vinyl floors depends on different levels to choose 1 of the 3 suitable options presented above. It’s important to note thatn’t all scratches can be successfully remedied. In some cases, it may be necessary to refinish or replace the damaged plank completely in order to achieve satisfactory results.
With the right tools and knowledge, you can easily restore the original finish of your luxury vinyl floor and keep it looking best for years. So what’re you waiting for? Follow these steps today to fix scratches on your vinyl floors and maintain their beauty!
The above methods provide a helpful guide on how to repair minor scratches on luxury vinyl floors. It’s recommended to reach out to professionals if the damage’s severe and requires more complex repair processes. Doing so’ll ensure that your flooring stays in top condition for a long time. Remember, taking good care of your luxury vinyl floors now can help you save money in the future!